
Creating new jobs
To get started, navigate to Jobs in the main navigation bar.
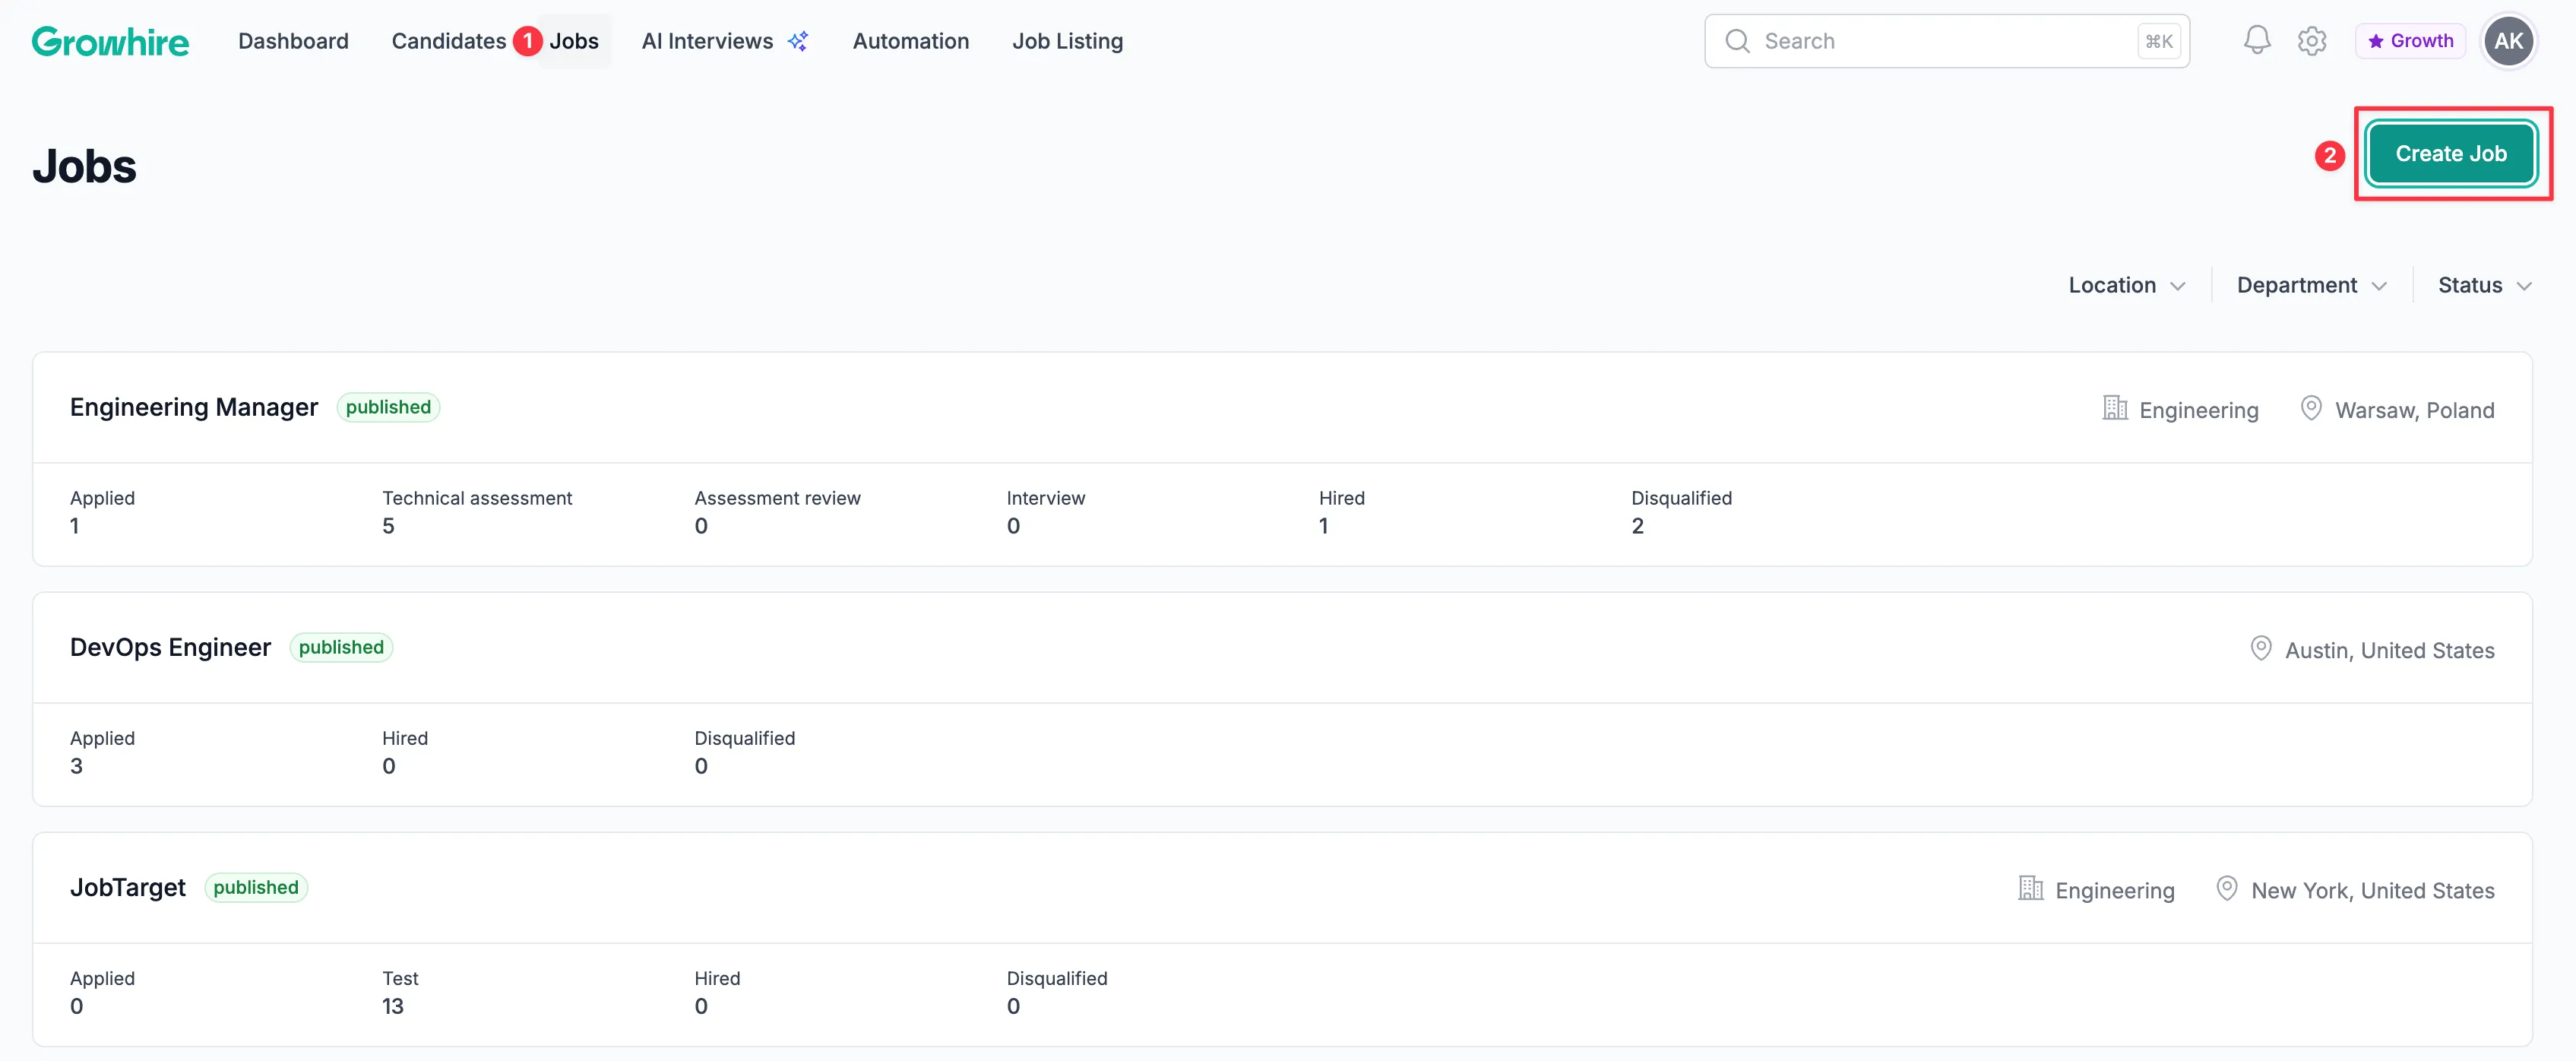
Then, click Create job to begin editing and configuring your job.
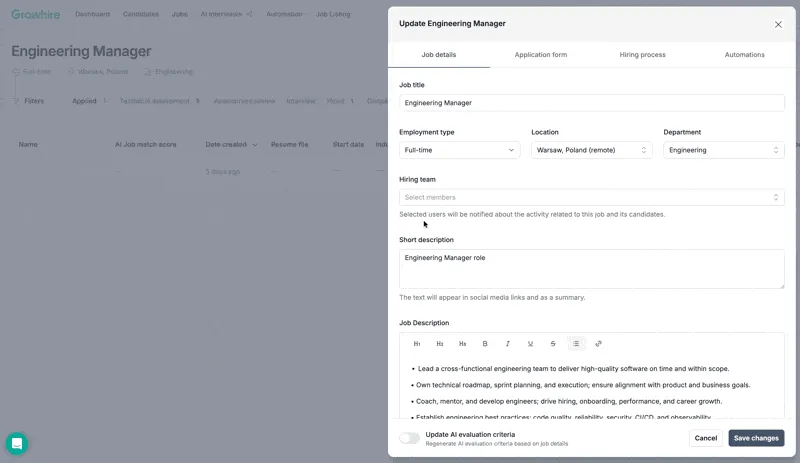
A modal will appear allowing you to modify the job details, application form, hiring process, and automations.
Job details
Section titled “Job details”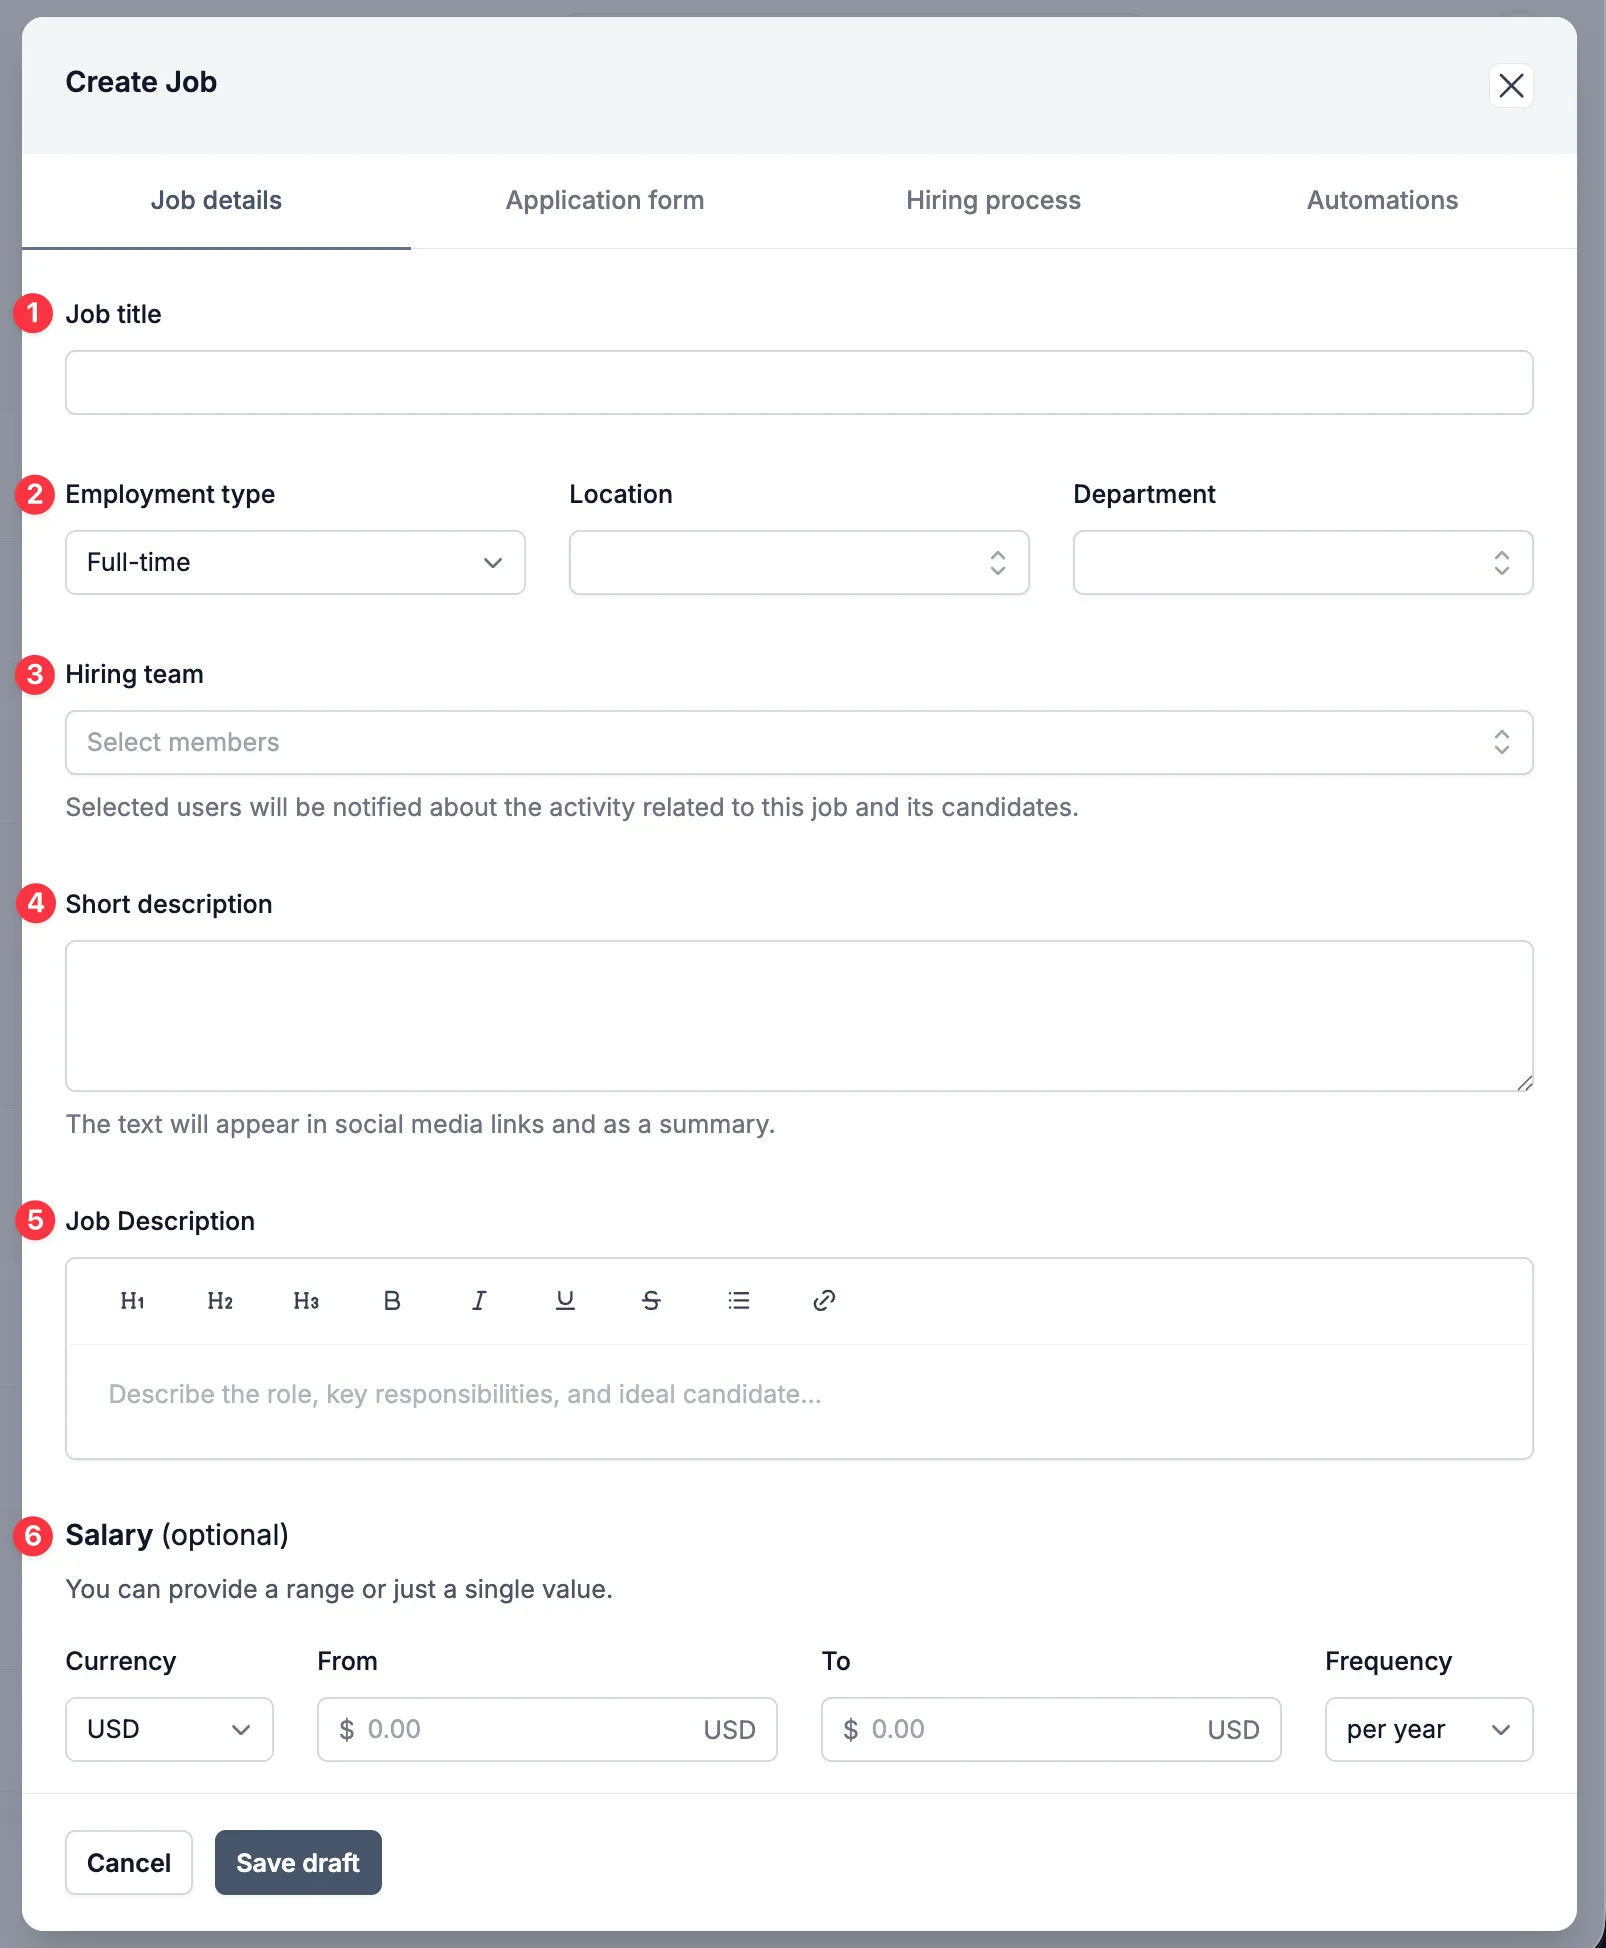
- Job title: Define your job’s official title
- Employment type, Location, Department: Manage your company locations and departments in your account settings.
- Hiring team: Select the admin who will be notified about the activity related to the job and its candidates.
- Short description: Create a short summary of the job that will appear in social media links.
- Job description: Include the details of the role, including key responsibilities, skills, and requirements.
- Salary (optional): Provide a range or a single value.
Application form
Section titled “Application form”Create an application form that includes questions relevant to the specific job role. You can later set up automations to designate certain questions as knockout criteria.
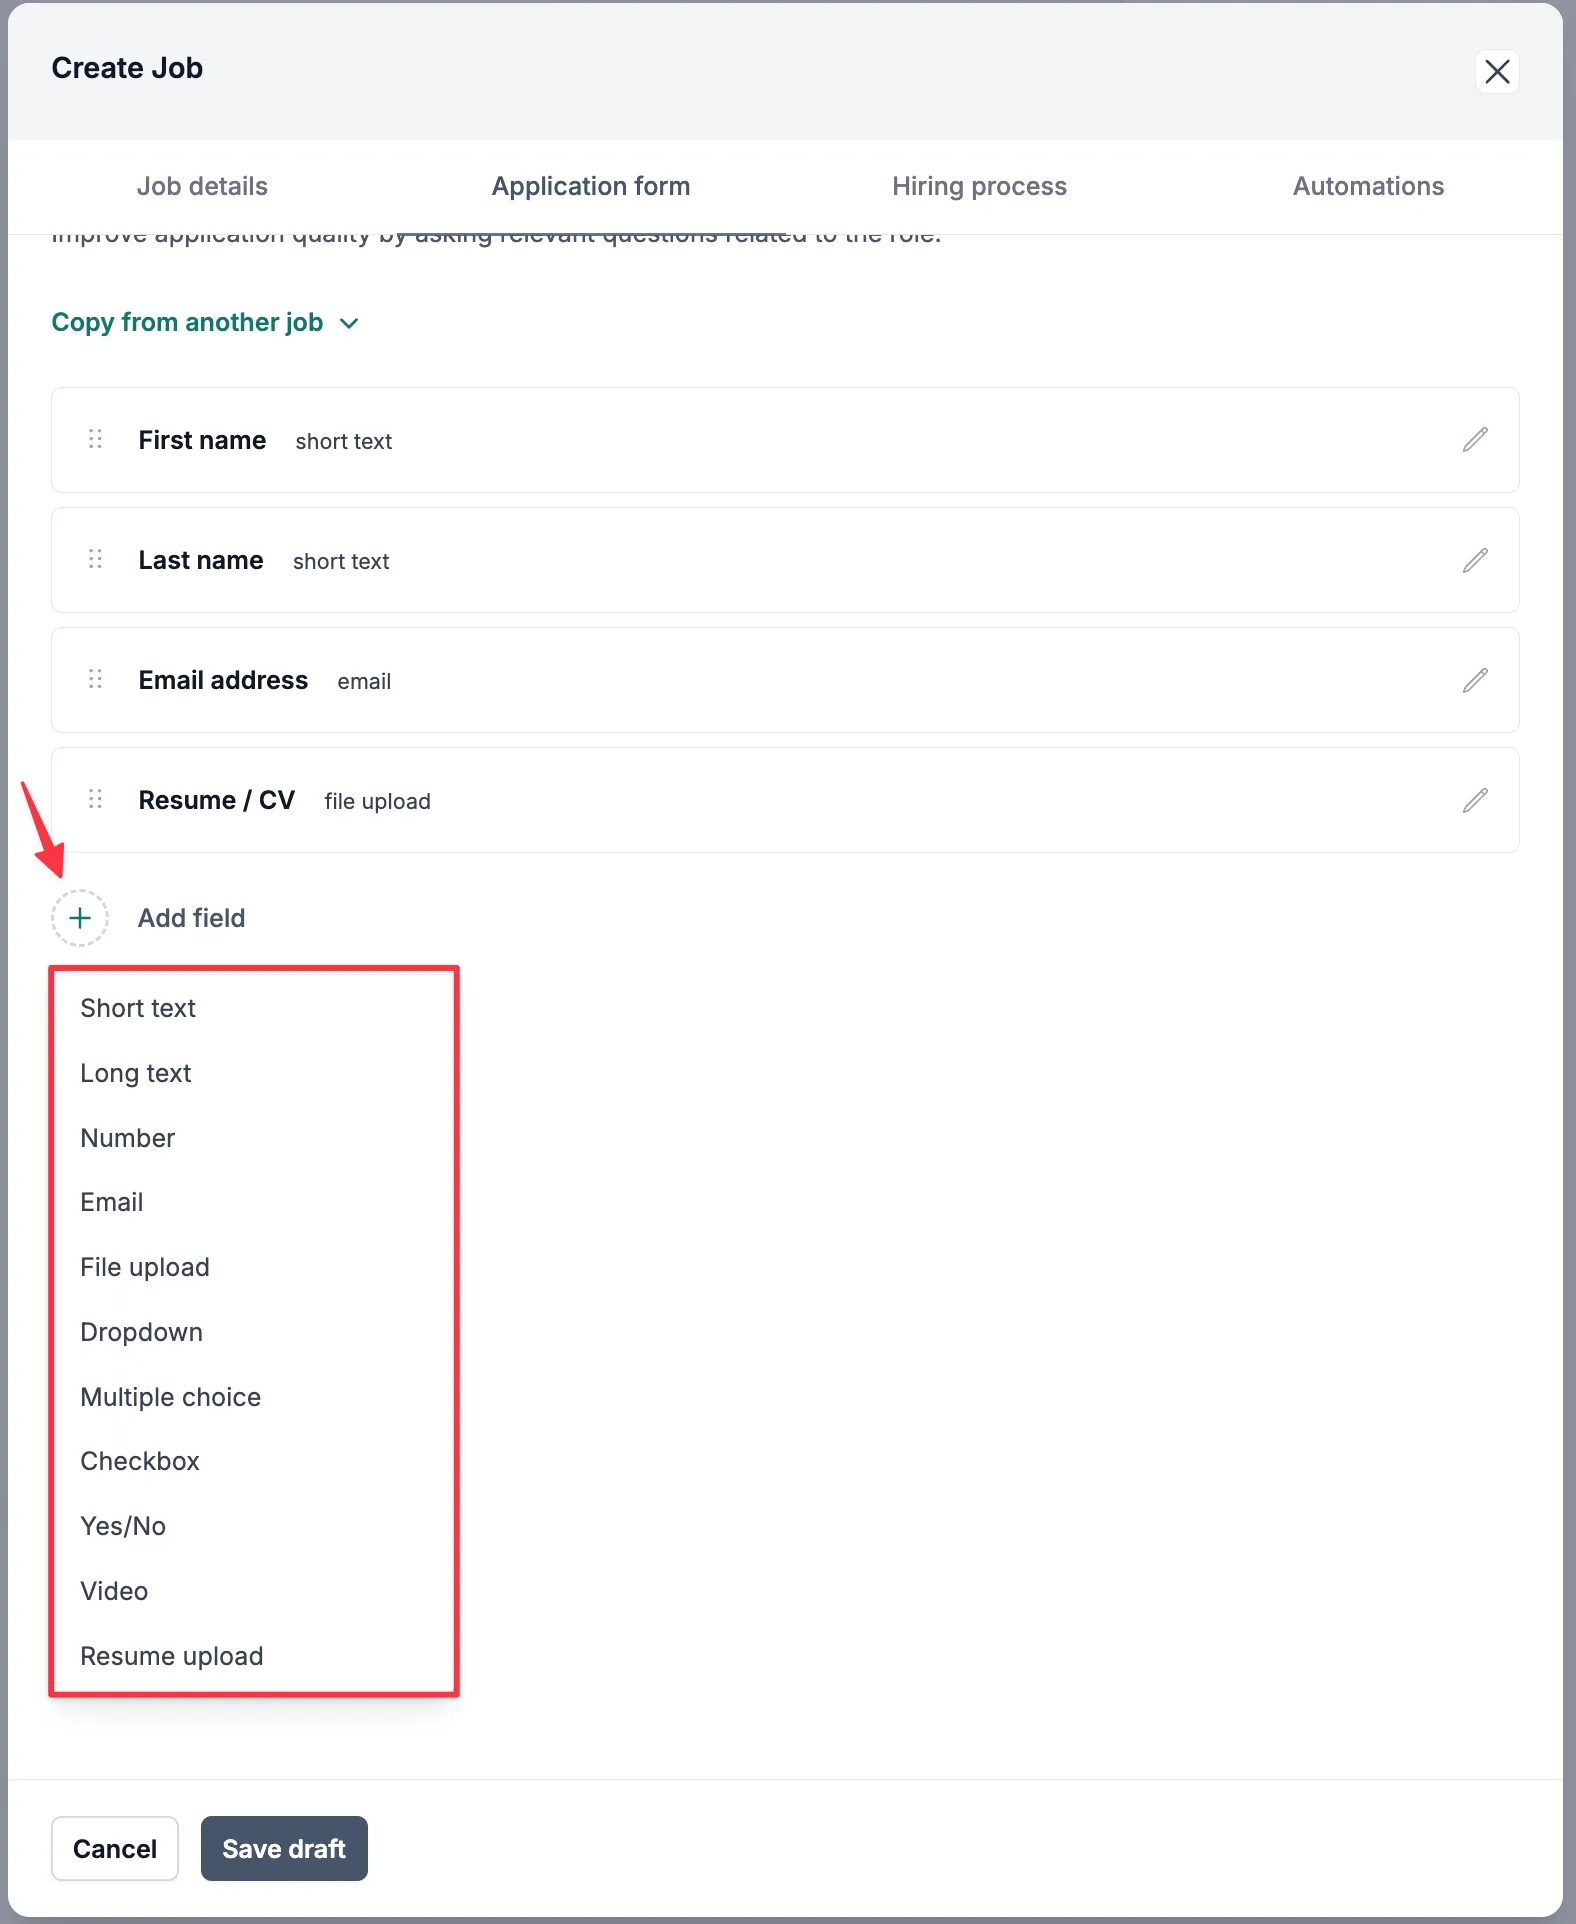
By default, all applications require First name, Last name, Email address, and Resume/CV.
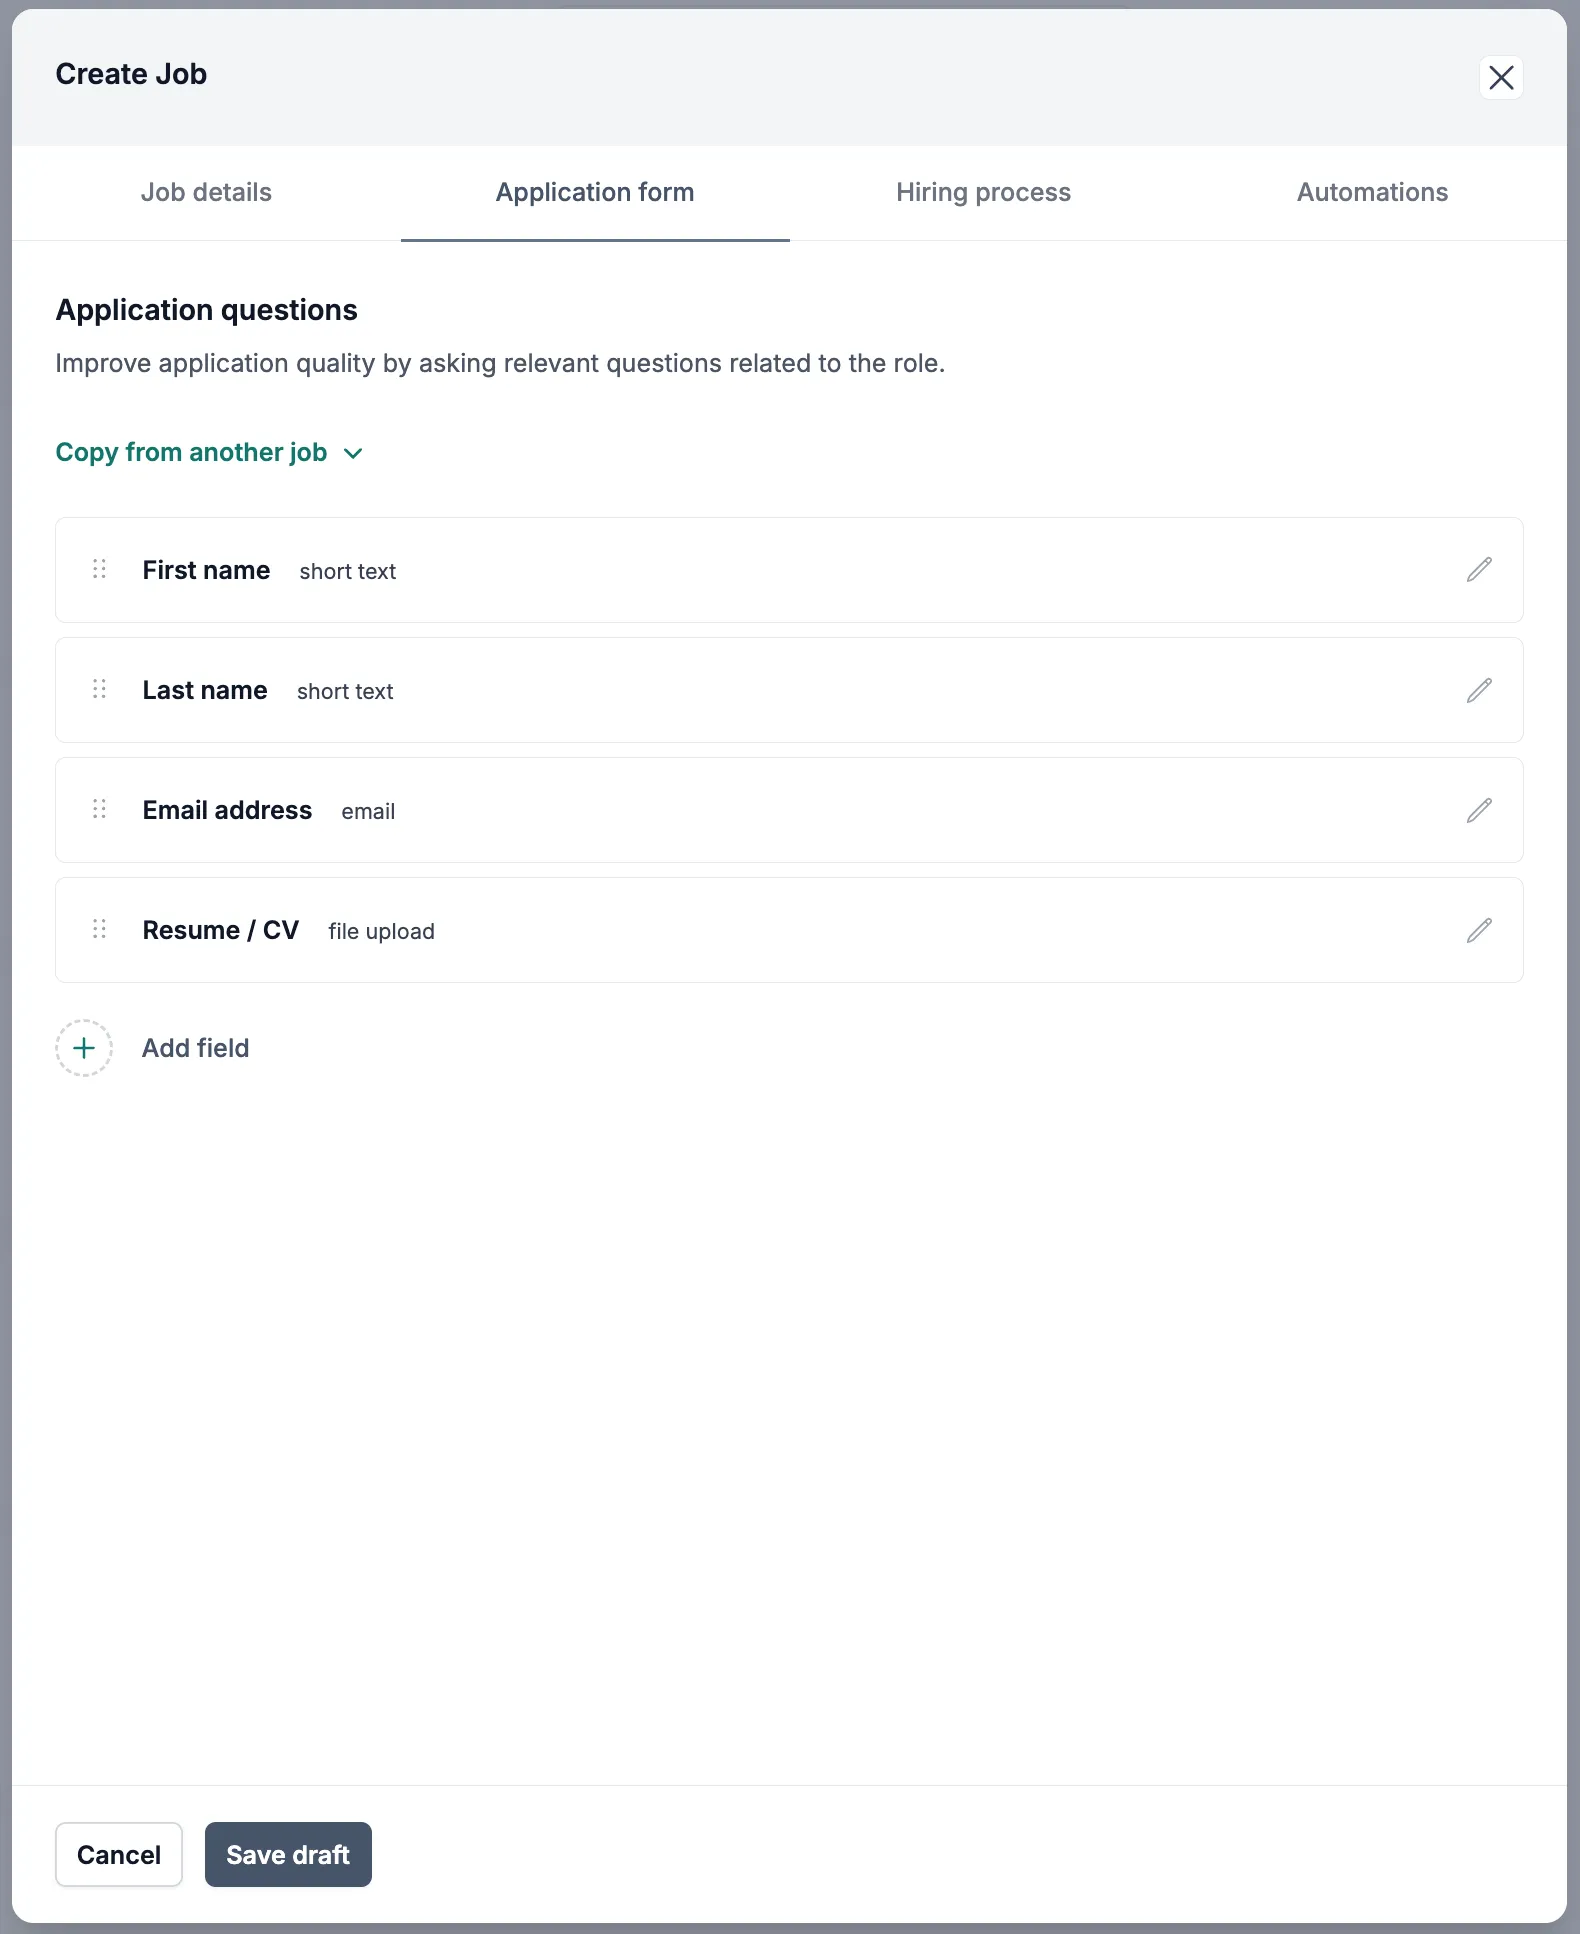
To add a new application question, click Add field and then select the answer type.
You will them be prompted to enter the Field label, determine if the questions are required to submit the application, and if you’d like the answers to sync with custom fields you’ve pre-configured on your account.
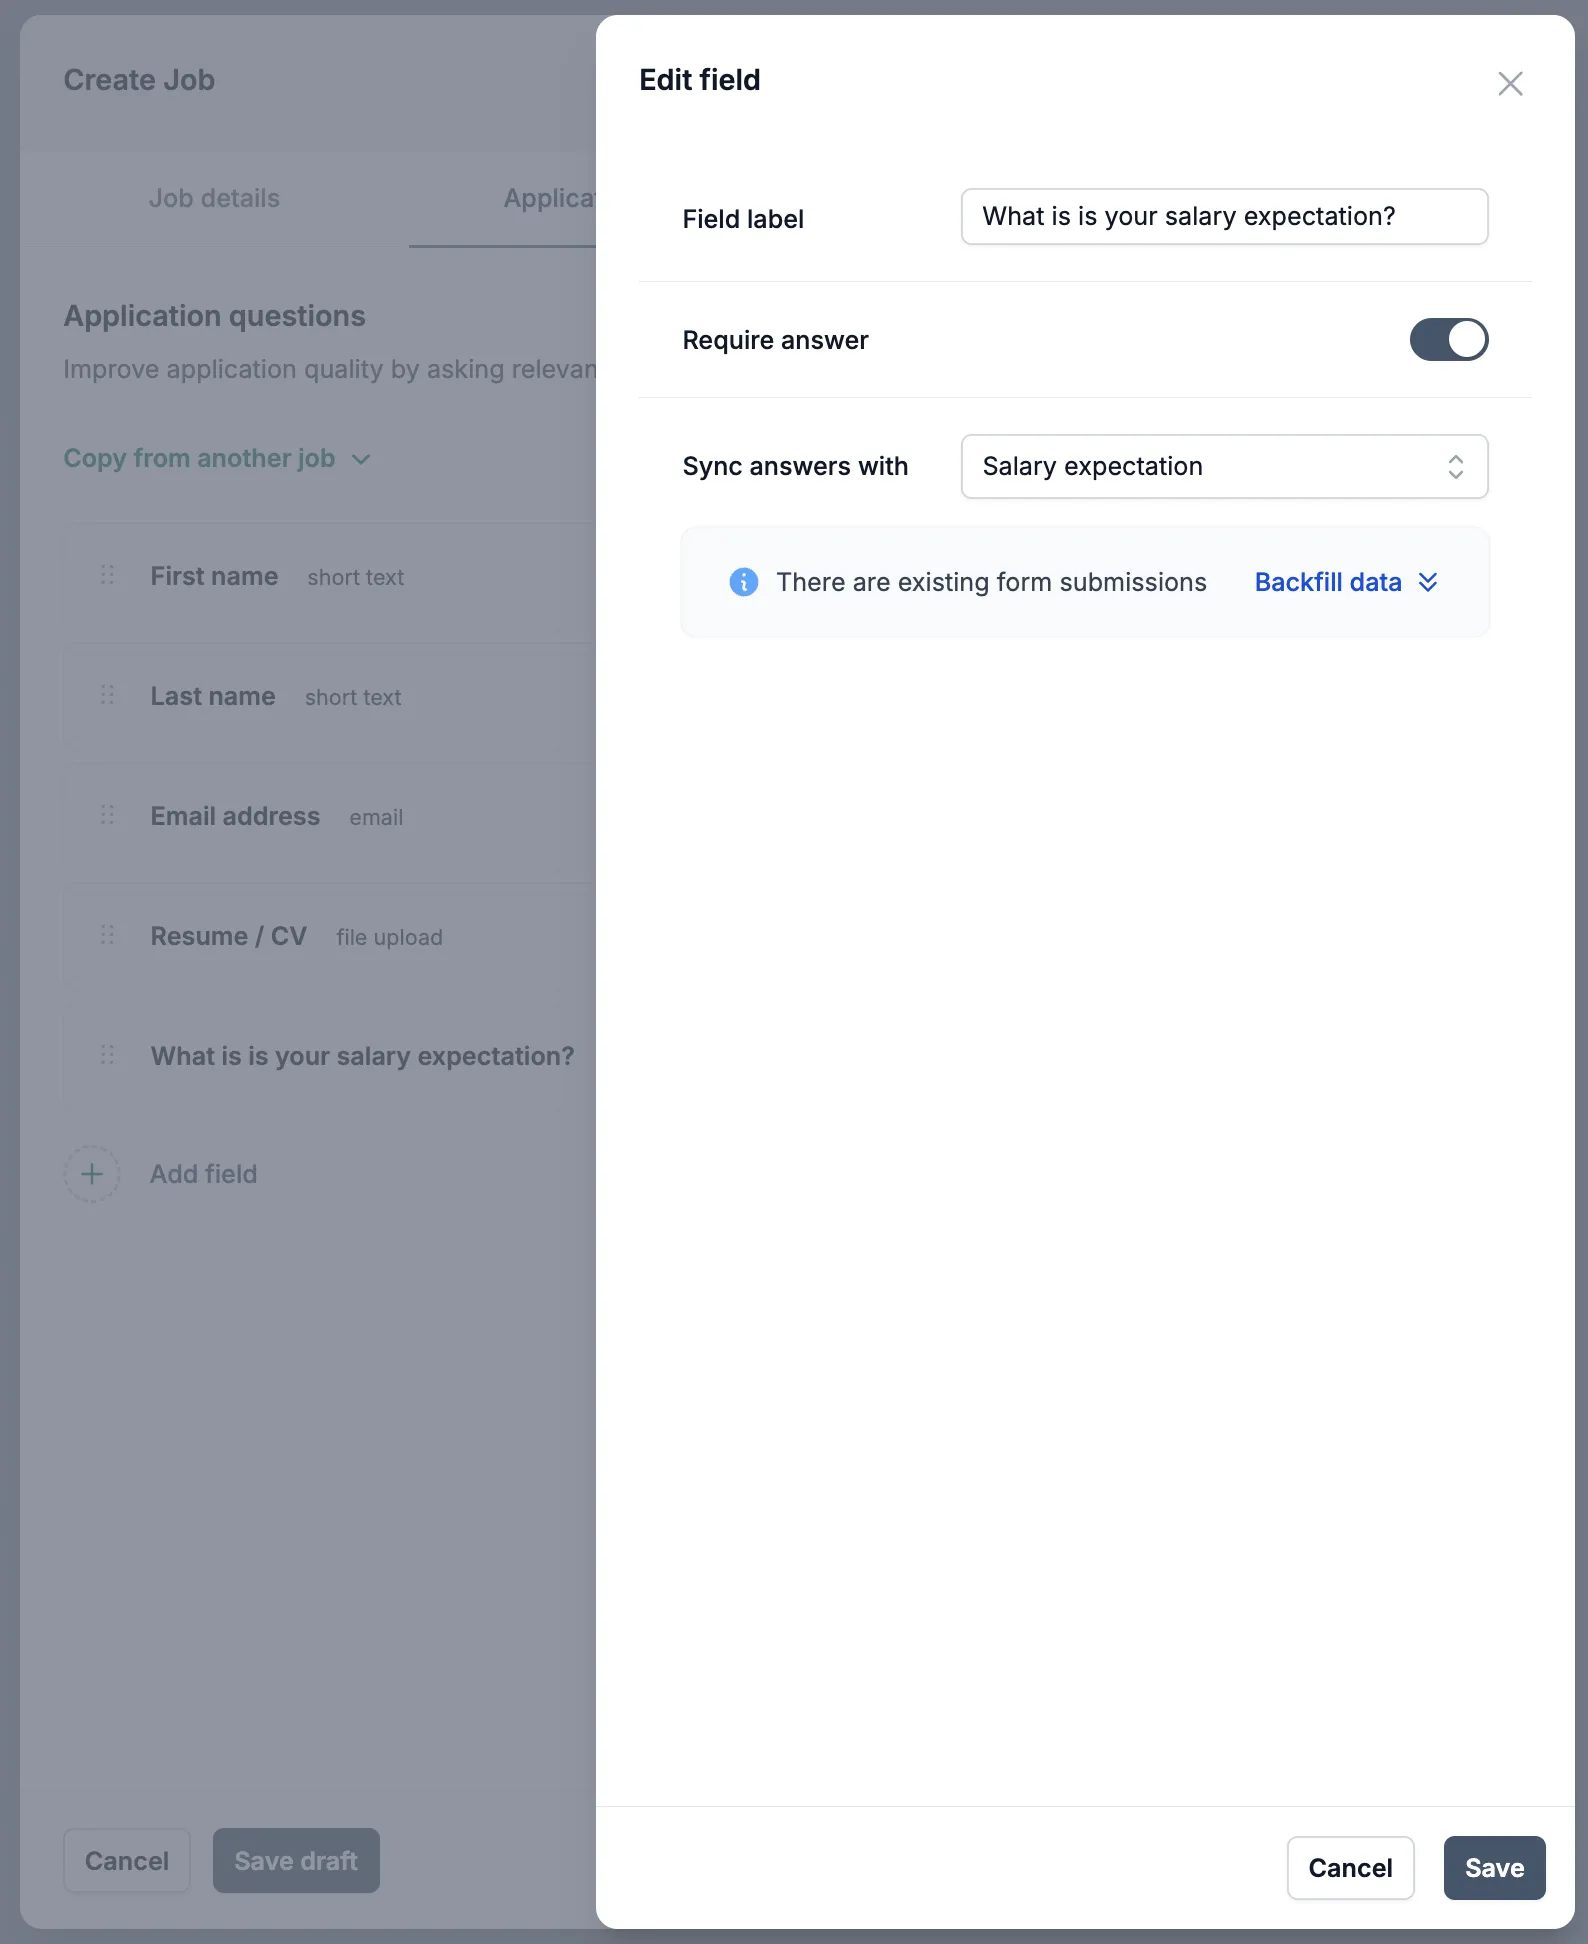
Click Save to view your new field on the application form.
Hiring process
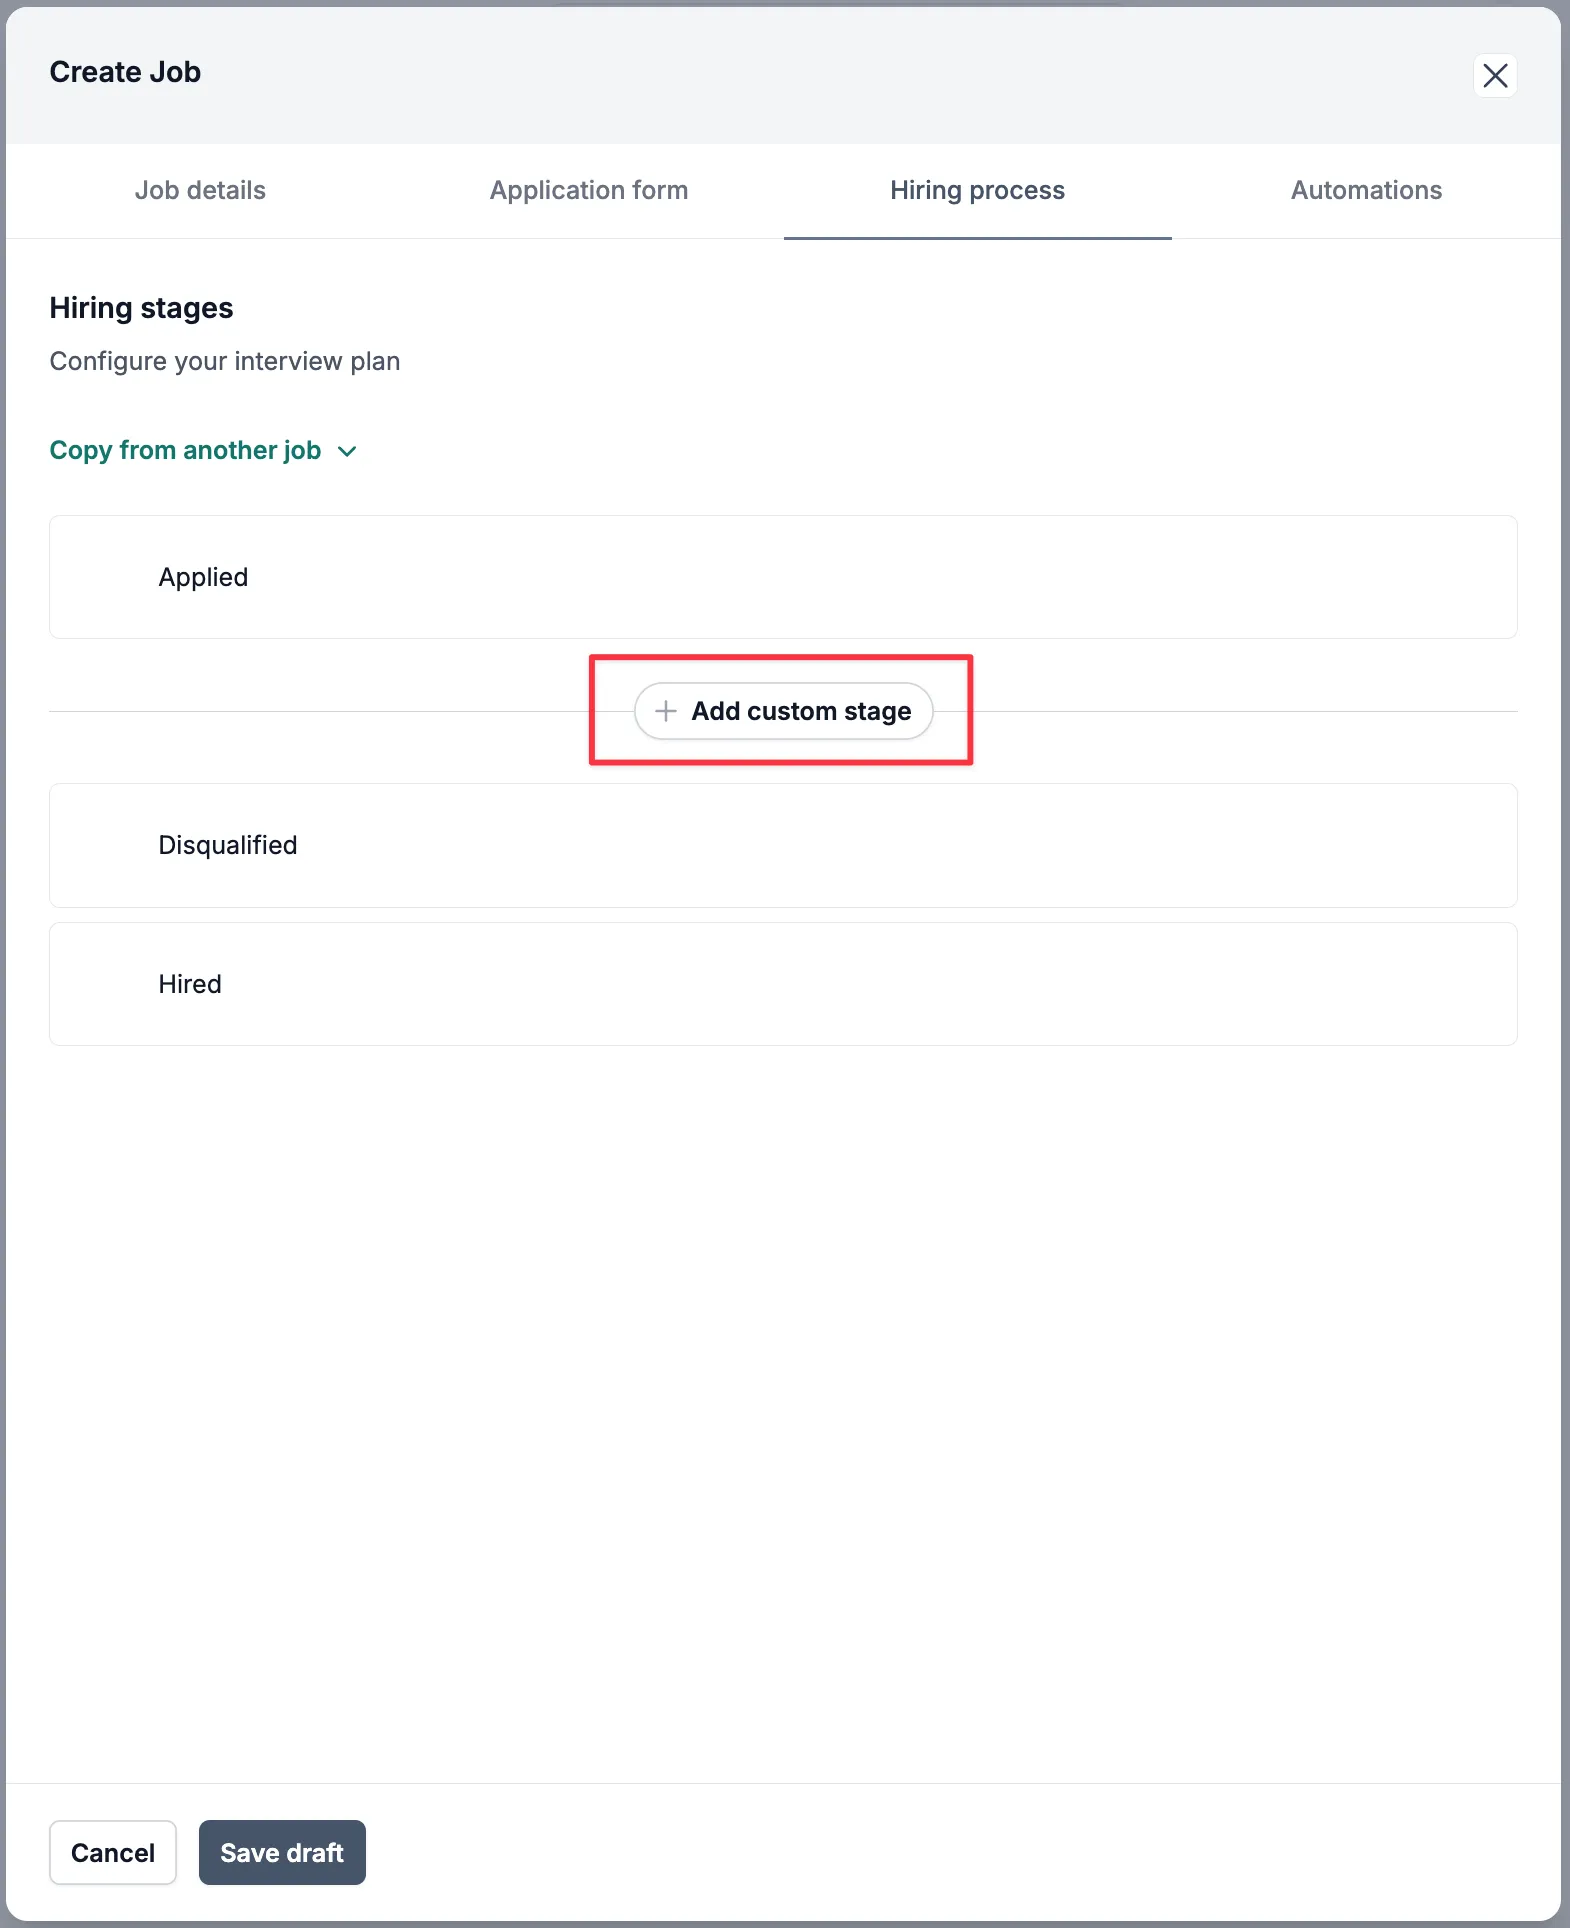
Section titled “Hiring process”Customize your hiring pipeline by adding and organizing stages to match your recruiting workflow. By default, all hiring processes have the following stages: Applied, Disqualified, and Hired.
To add a custom stage, click Add custom stage and then provide a name.
Use the dots on the left to move your stages where they should go in the process.
Automations
Section titled “Automations”Set up automations to designate certain questions as knockout criteria and reject candidates based on their application questions.
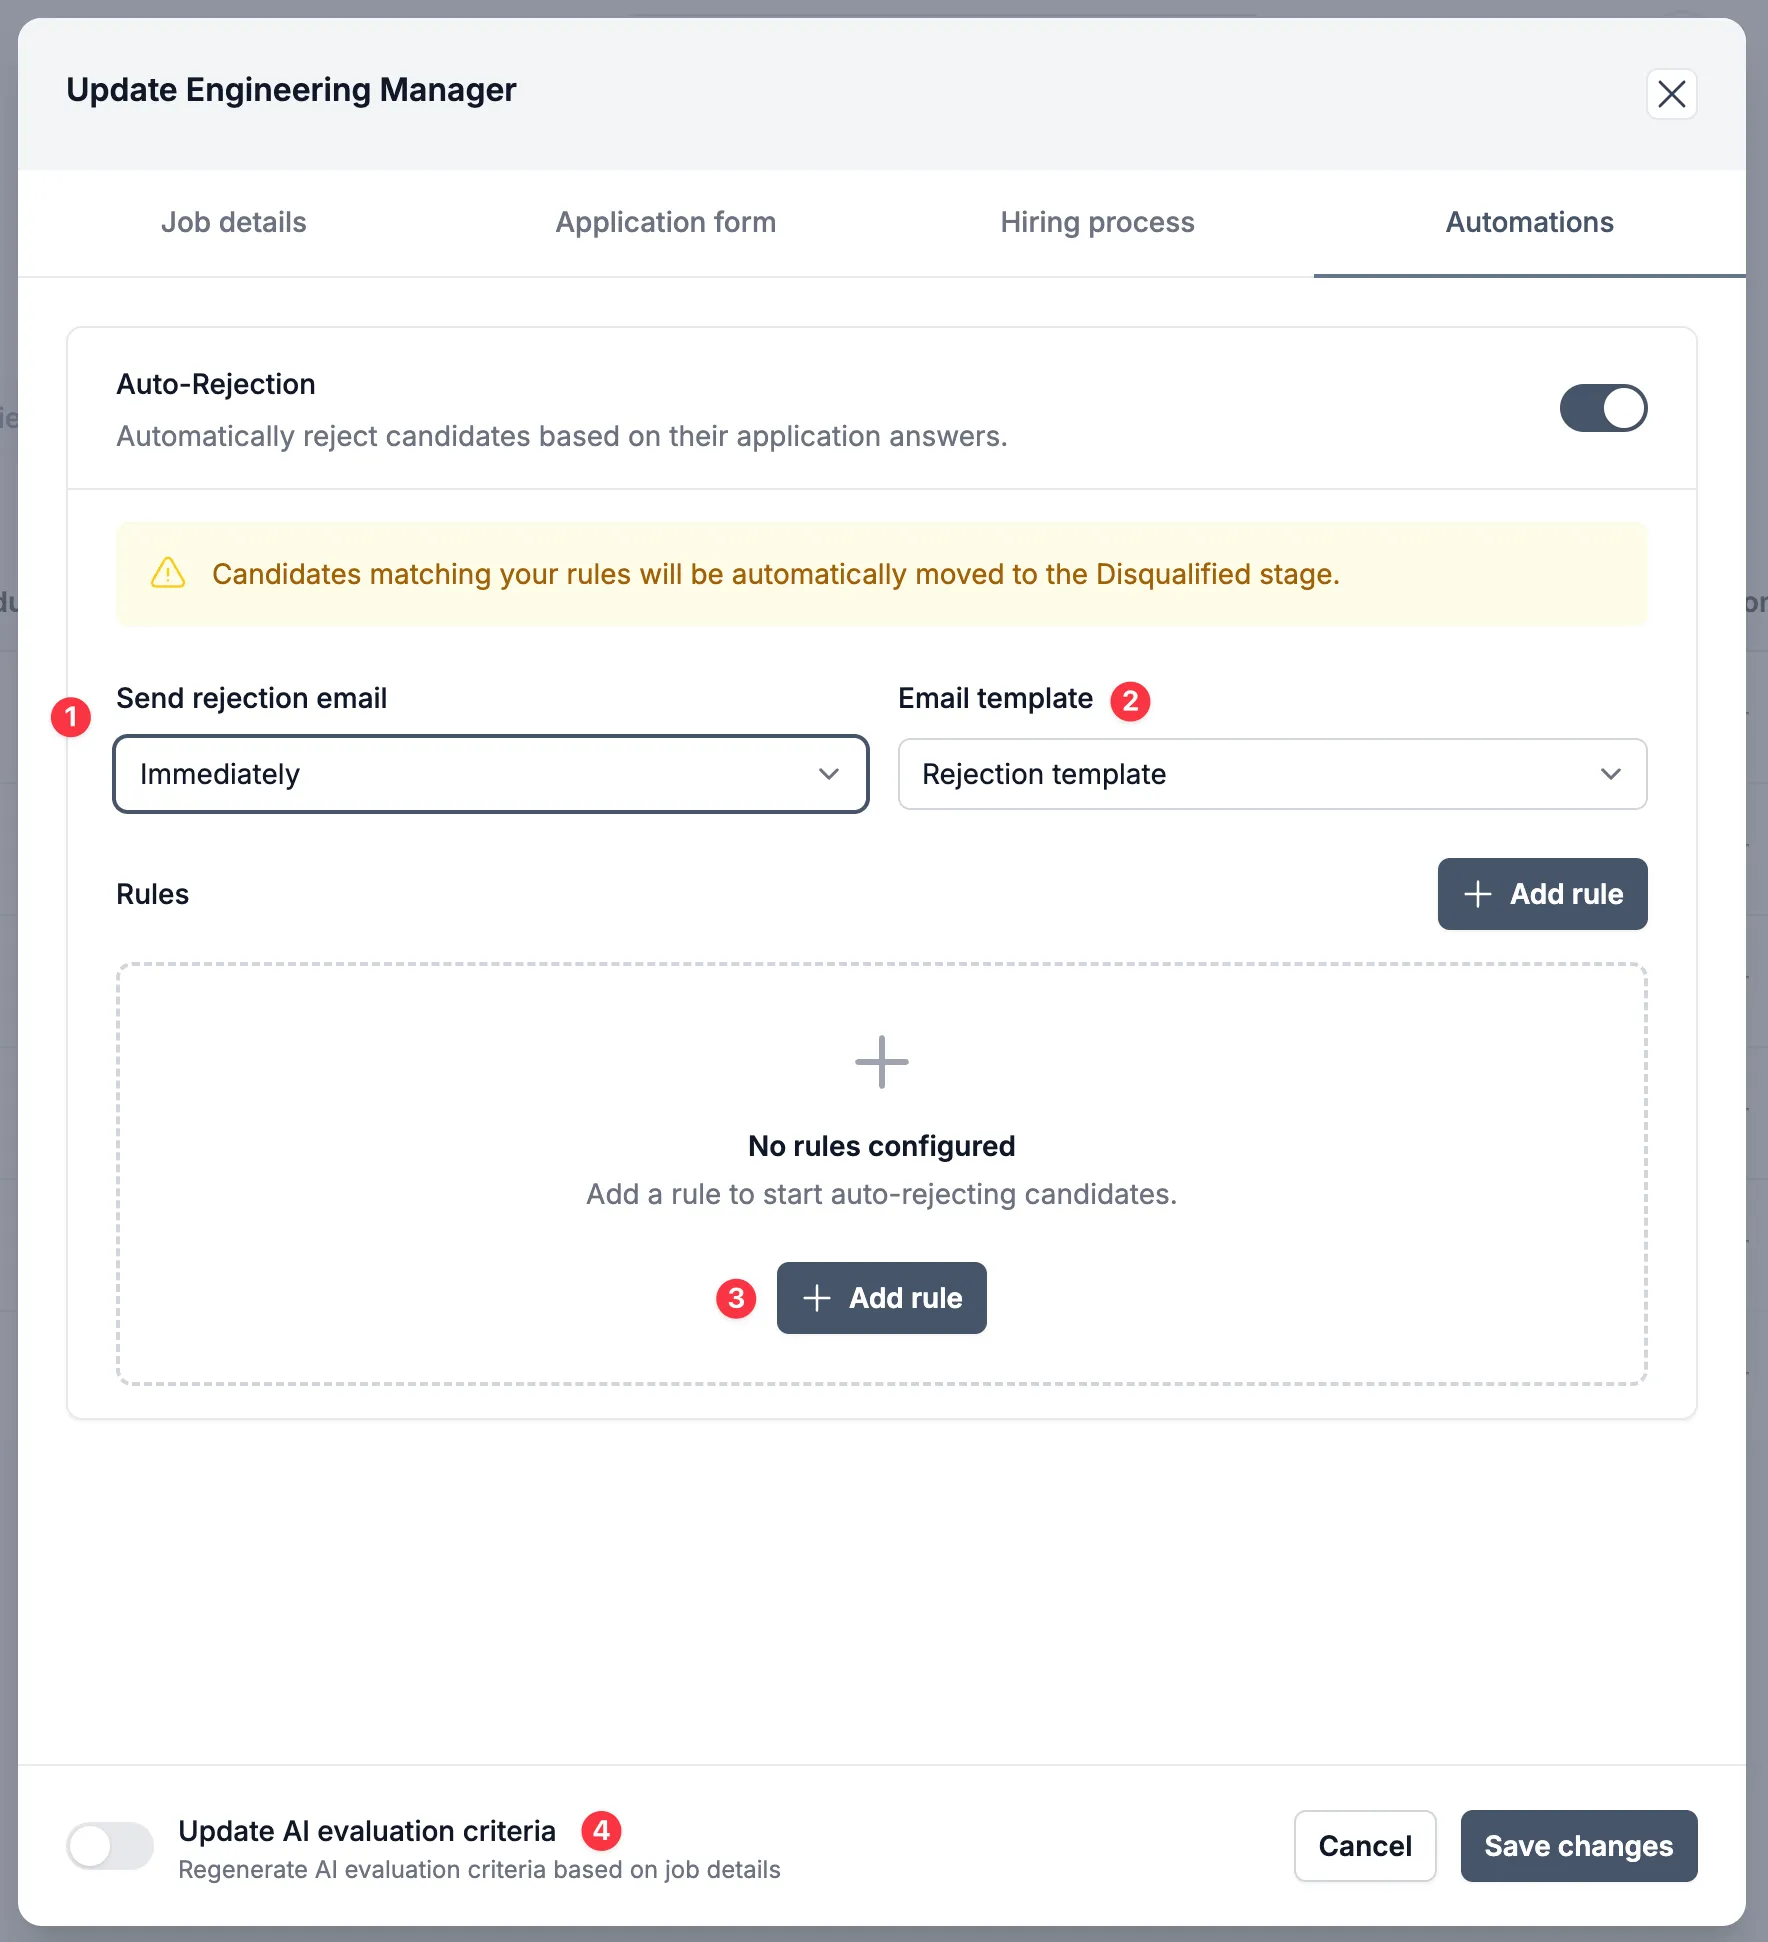
- Send rejection email: Choose from the drop-down menu when to send an email to the candidate.
- Email template: Customize templates in your account settings and then select which message to use.
- +Add rule: Auto-reject candidates based on the conditions set.
- Update AI evaluation criteria: Regenerate AI evaluation criteria based on your job details
After customizing your job, make sure to click Save changes, and then begin listing or promoting your jobs to job boards.